This is an old revision of the document!
Installing MPCStar
1) First of all navigate to where you saved the setup file, double-click the file to start installation.
2) Select language: Select your language and click “OK” to continue.
3) Setup Wizard: The Setup Wizard will guide you through the rest of the installation. Click “Next”.
4) Information: Please read the important information before proceeding. Click “Next” to continue.
5) Choose Components: To choose the components of MPCStar you would like to install. It is recommended to select all components.
6) Installation Location: Select the destination folder to install MPCStar by clicking “Browse”; then press “Next” after destination selected.
7) Choose Start Menu Folder: To place the shortcut of MPCStar in start menu, and click “Install”.
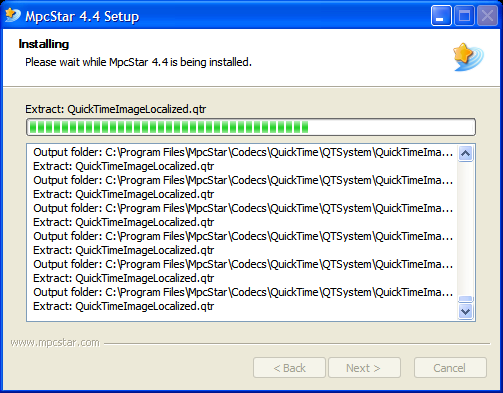
8) Installing: The installation will take a while. Please wait for it to complete.
9) File Association: Ticking boxes to enable MPCStar playing certain video formats. Click “Next” to proceed.
10) Installation Complete: Installation has completed, click “Next” to continue.
11) Other Setup: Installation of MPCStar is completed, it is recommended to set google.atcomet.com as the homepage (This is optional). You can support us by ticking the box.
12) Installation Complete: The window below appears when MPCStar has been successfully installed. You can run it now. Click “Finish” to exit Setup Wizard.


